Land for Sale
Featured Land For Sale
-
 Available$225,000
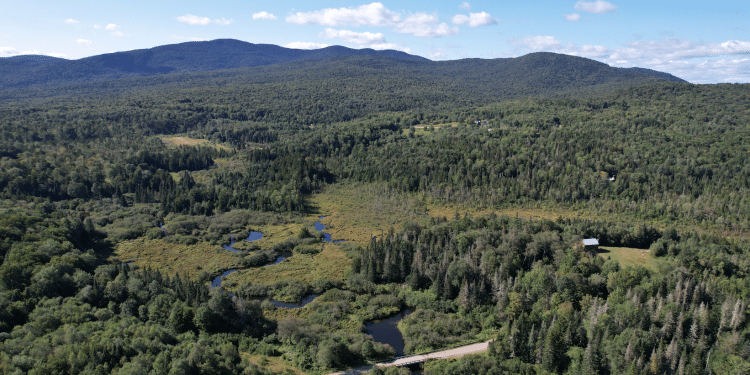
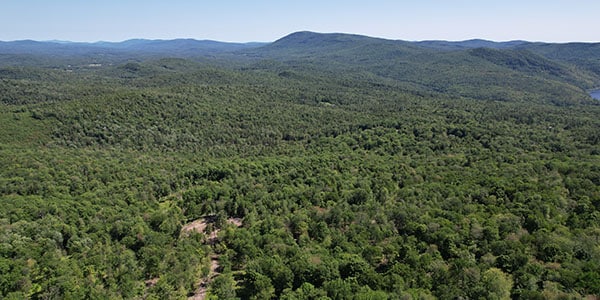
Cox Brook Headwaters
68.2 AcresMultiple UsesMoretown, Washington County, VT -
 Available$1,549,800
Manning Farm
245 AcresMultiple UsesLeesburg, Lee County, GA -
 Available$5,400,000
The QuailCrest Estate
1,328 AcresHome & LandPelham, Mitchell Co., GA -
 Under Agreement$635,000
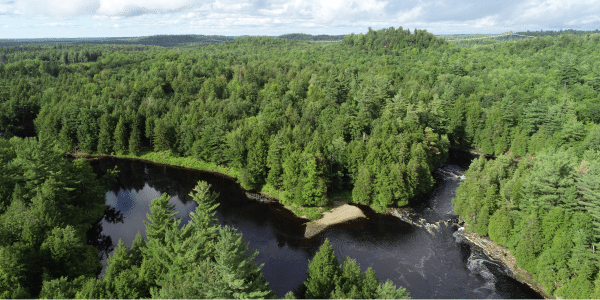
Perkins Brook Forest
1,214 AcresTimberlandBelvidere, Lamoille County, VT -
 Available$182,925
Pataula Place
27.1 AcresTimberlandGeorgetown, Quitman County, GA -
 Available$576,000
Steel Mill Tract
128 AcresMultiple UsesMagnolia, Columbia County, AR -
 Available$90,000
Rolling Hills Ranch #40
10.12 AcresMultiple UsesPineland, San Augustine County, TX -
 Available$90,000
Rolling Hills Ranch #38
10.03 AcresMultiple UsesPineland, San Augustine County, TX -
 Available$105,000
Rolling Hills Ranch #36
11.95 AcresMultiple UsesPineland, San Augustine County, TX -
 Available$235,000
West Hill Road – Lot 2
15.27 AcresMultiple UsesJamaica, Windham County, VT -
Available$195,000
West Hill Road – Lot 1
10.25 AcresMultiple UsesJamaica, Windham County, VT -
 Under Agreement$550,000
Lower Oswegatchie River – Parcel 2
403 AcresMultiple UsesSt. Lawrence County, NY
A Trusted Partner
Our Services
Fountains Land is a land marketing company with specific expertise in natural resources and a powerful advertising network that reaches land buyers worldwide. We have been a leader in land brokerage since 1980, with a proven track record of connecting buyers and sellers – including families, institutions, and conservation organizations.
Learn More About Our Services
Dedicated Team of Experts
Meet Our Team
-
Jody Strickland
Chief Business Officer and Qualifying Broker
-

Michael Tragner
Northeast Principal Broker
-

T. R. Clark, ACF, RF
Alabama Regional Manager & Broker
-

George Peake
Alabama, Georgia, & North Carolina Broker
-
Rob Routhier
Georgia Associate Broker & South Carolina Broker
-

Jesse Studley
Maine Associate Broker
-

Glen Worrell Jr., ACF
Virginia Regional Manager & Broker
-

Doug Hall, RF
Georgia Regional Manager & Real Estate Agent
-

Chris Bartley, ACF, TAF
Texas Regional Manager & Real Estate Agent
-

Tom Gilman, CF
New York Regional Manager & Real Estate Agent
-

Chad Hancock, ACF, RF
Georgia Regional Manager & Real Estate Agent
-

Nathan McClure, RF, CF
South Carolina Regional Manager & Real Estate Agent
-

Wade E. McDonald, RF
Georgia Regional Manager & Real Estate Agent
-

Bob McLaughlin
NYS Real Estate Agent
-

Rick Sluss, RF, ACF
Tennessee Regional Manager & Real Estate Agent